Looks like you’re on the US site. Choose another location to see content specific to your location
DESIGN AND PLAN YOUR EXPERIENCE
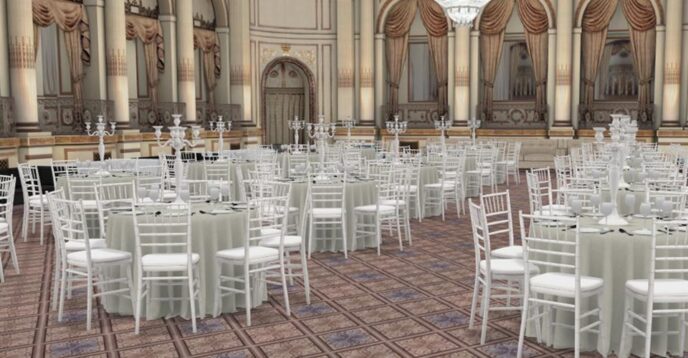
Manage every single detail from the event plan to the layout
Manage every single detail from the floor plan to event orchestration.
Creating an amazing space does not start in a shared spreadsheet. Hard to follow, impossible to know who is who or to track comments, it is not the event planner’s friend. Prismm is. Our cloud-based solution is accessible to all the right people so you can follow discussions and decisions.
.
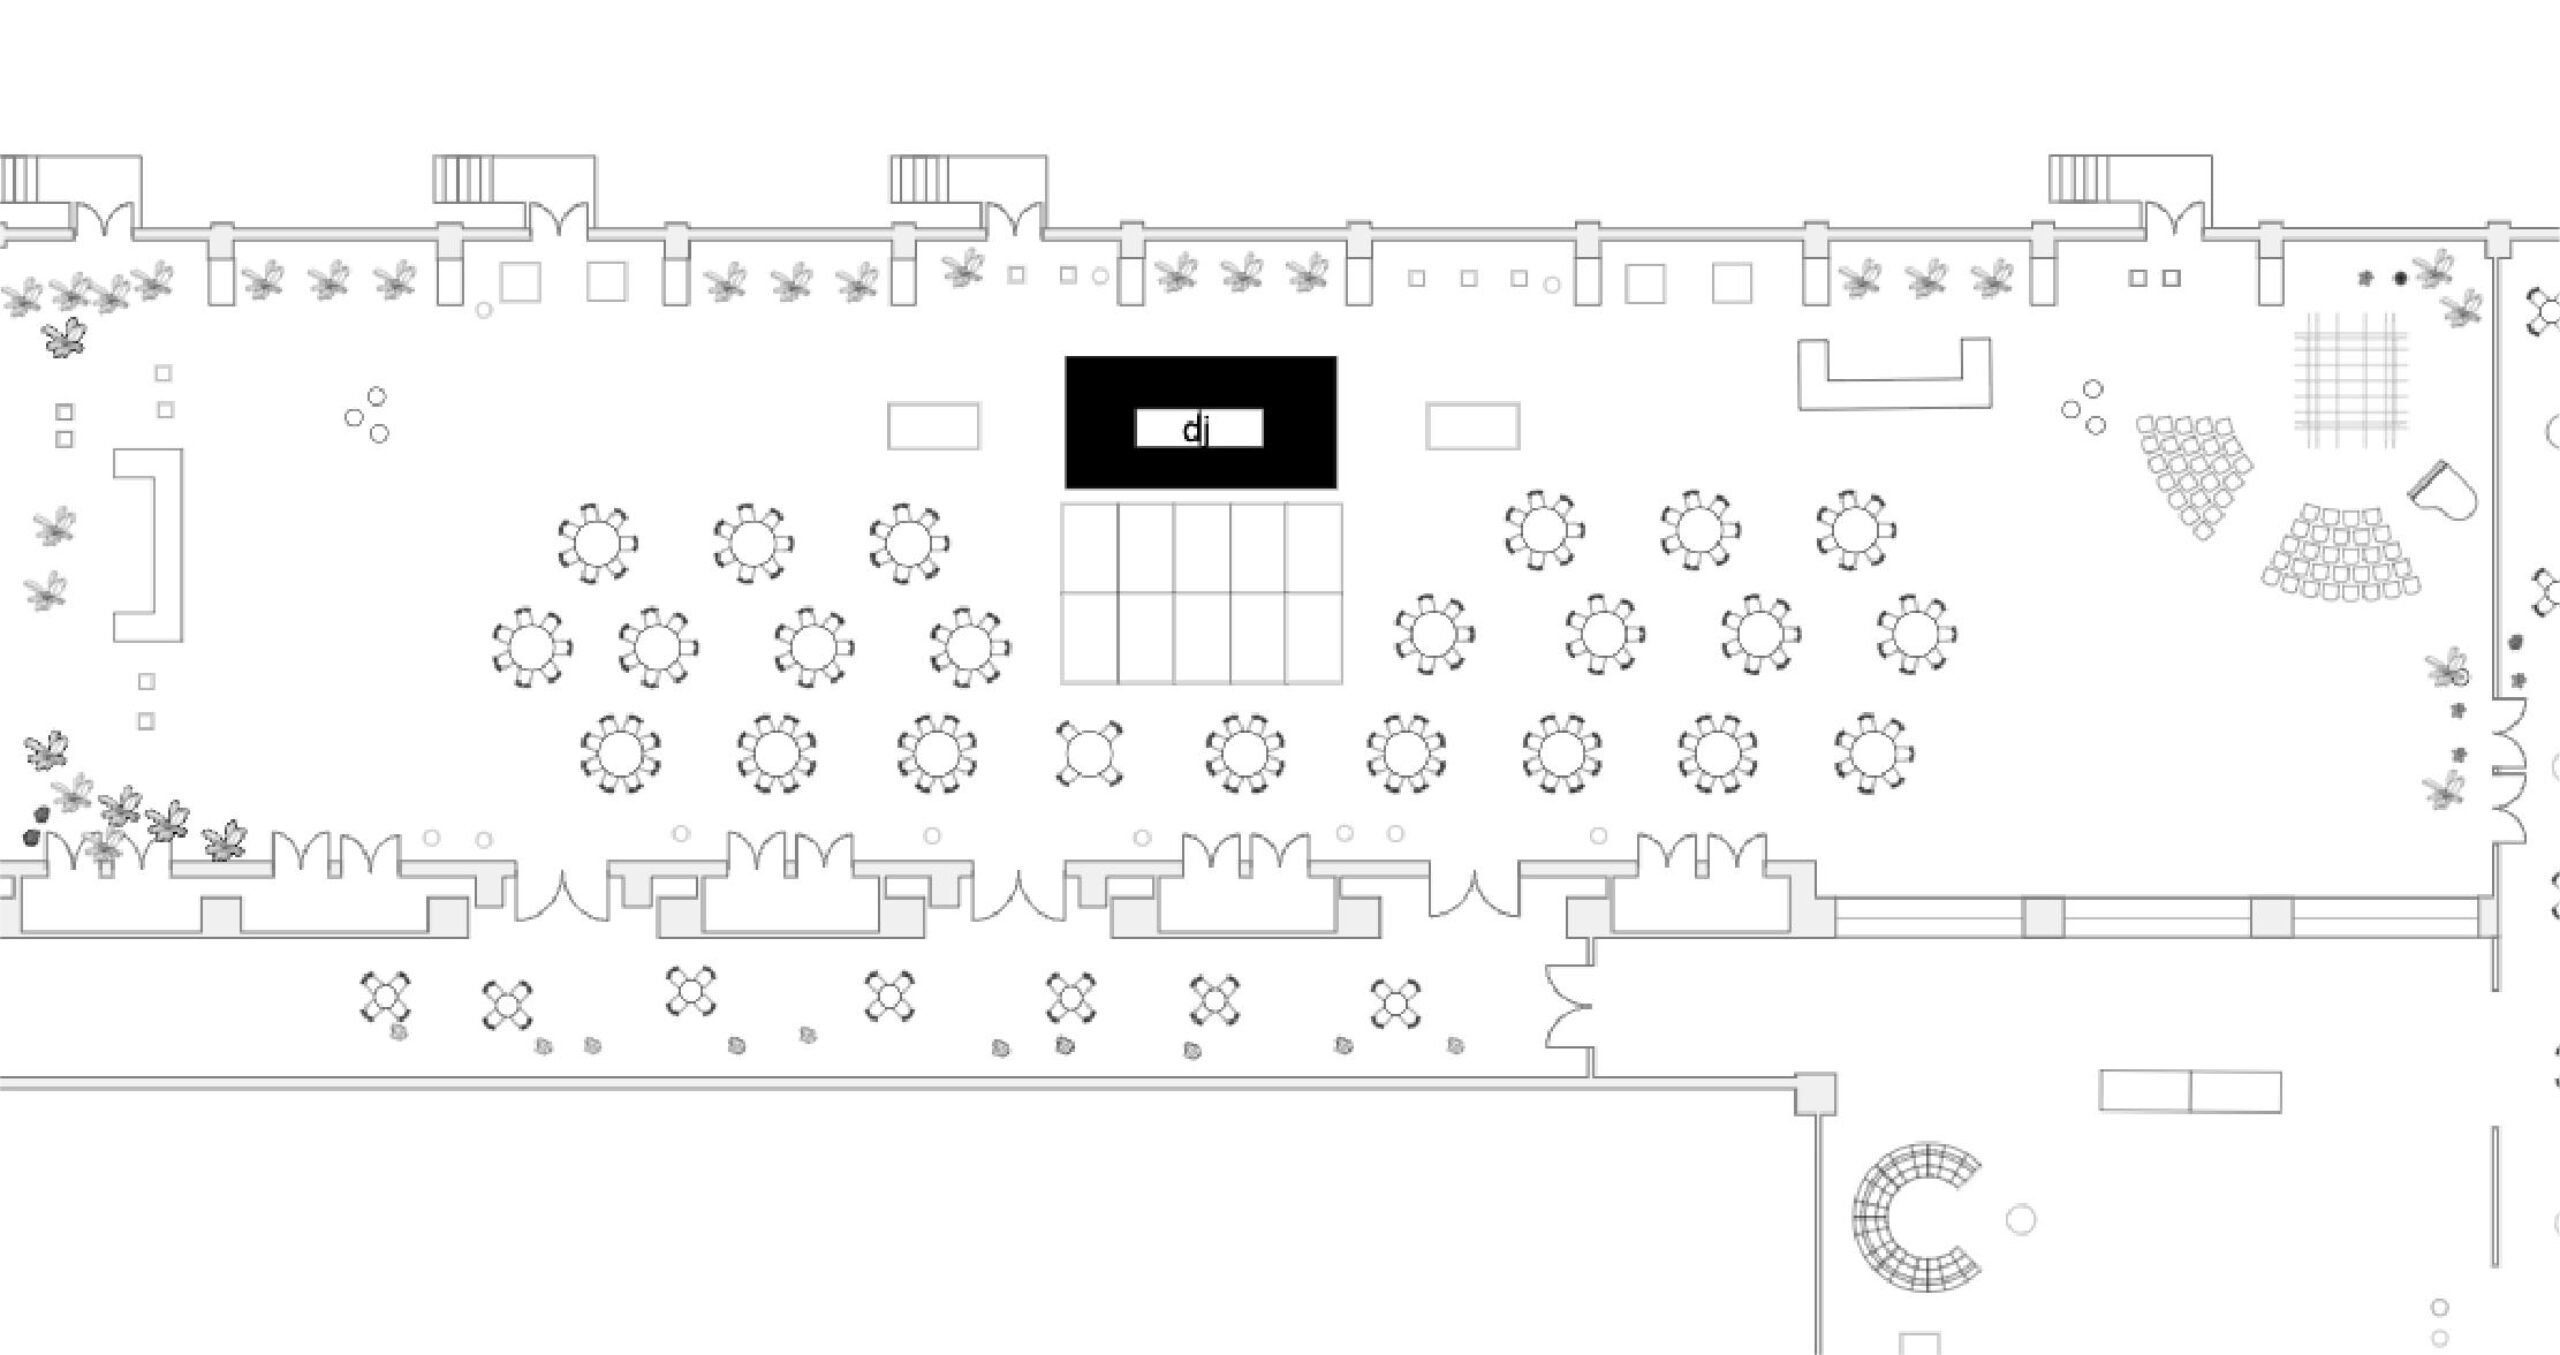


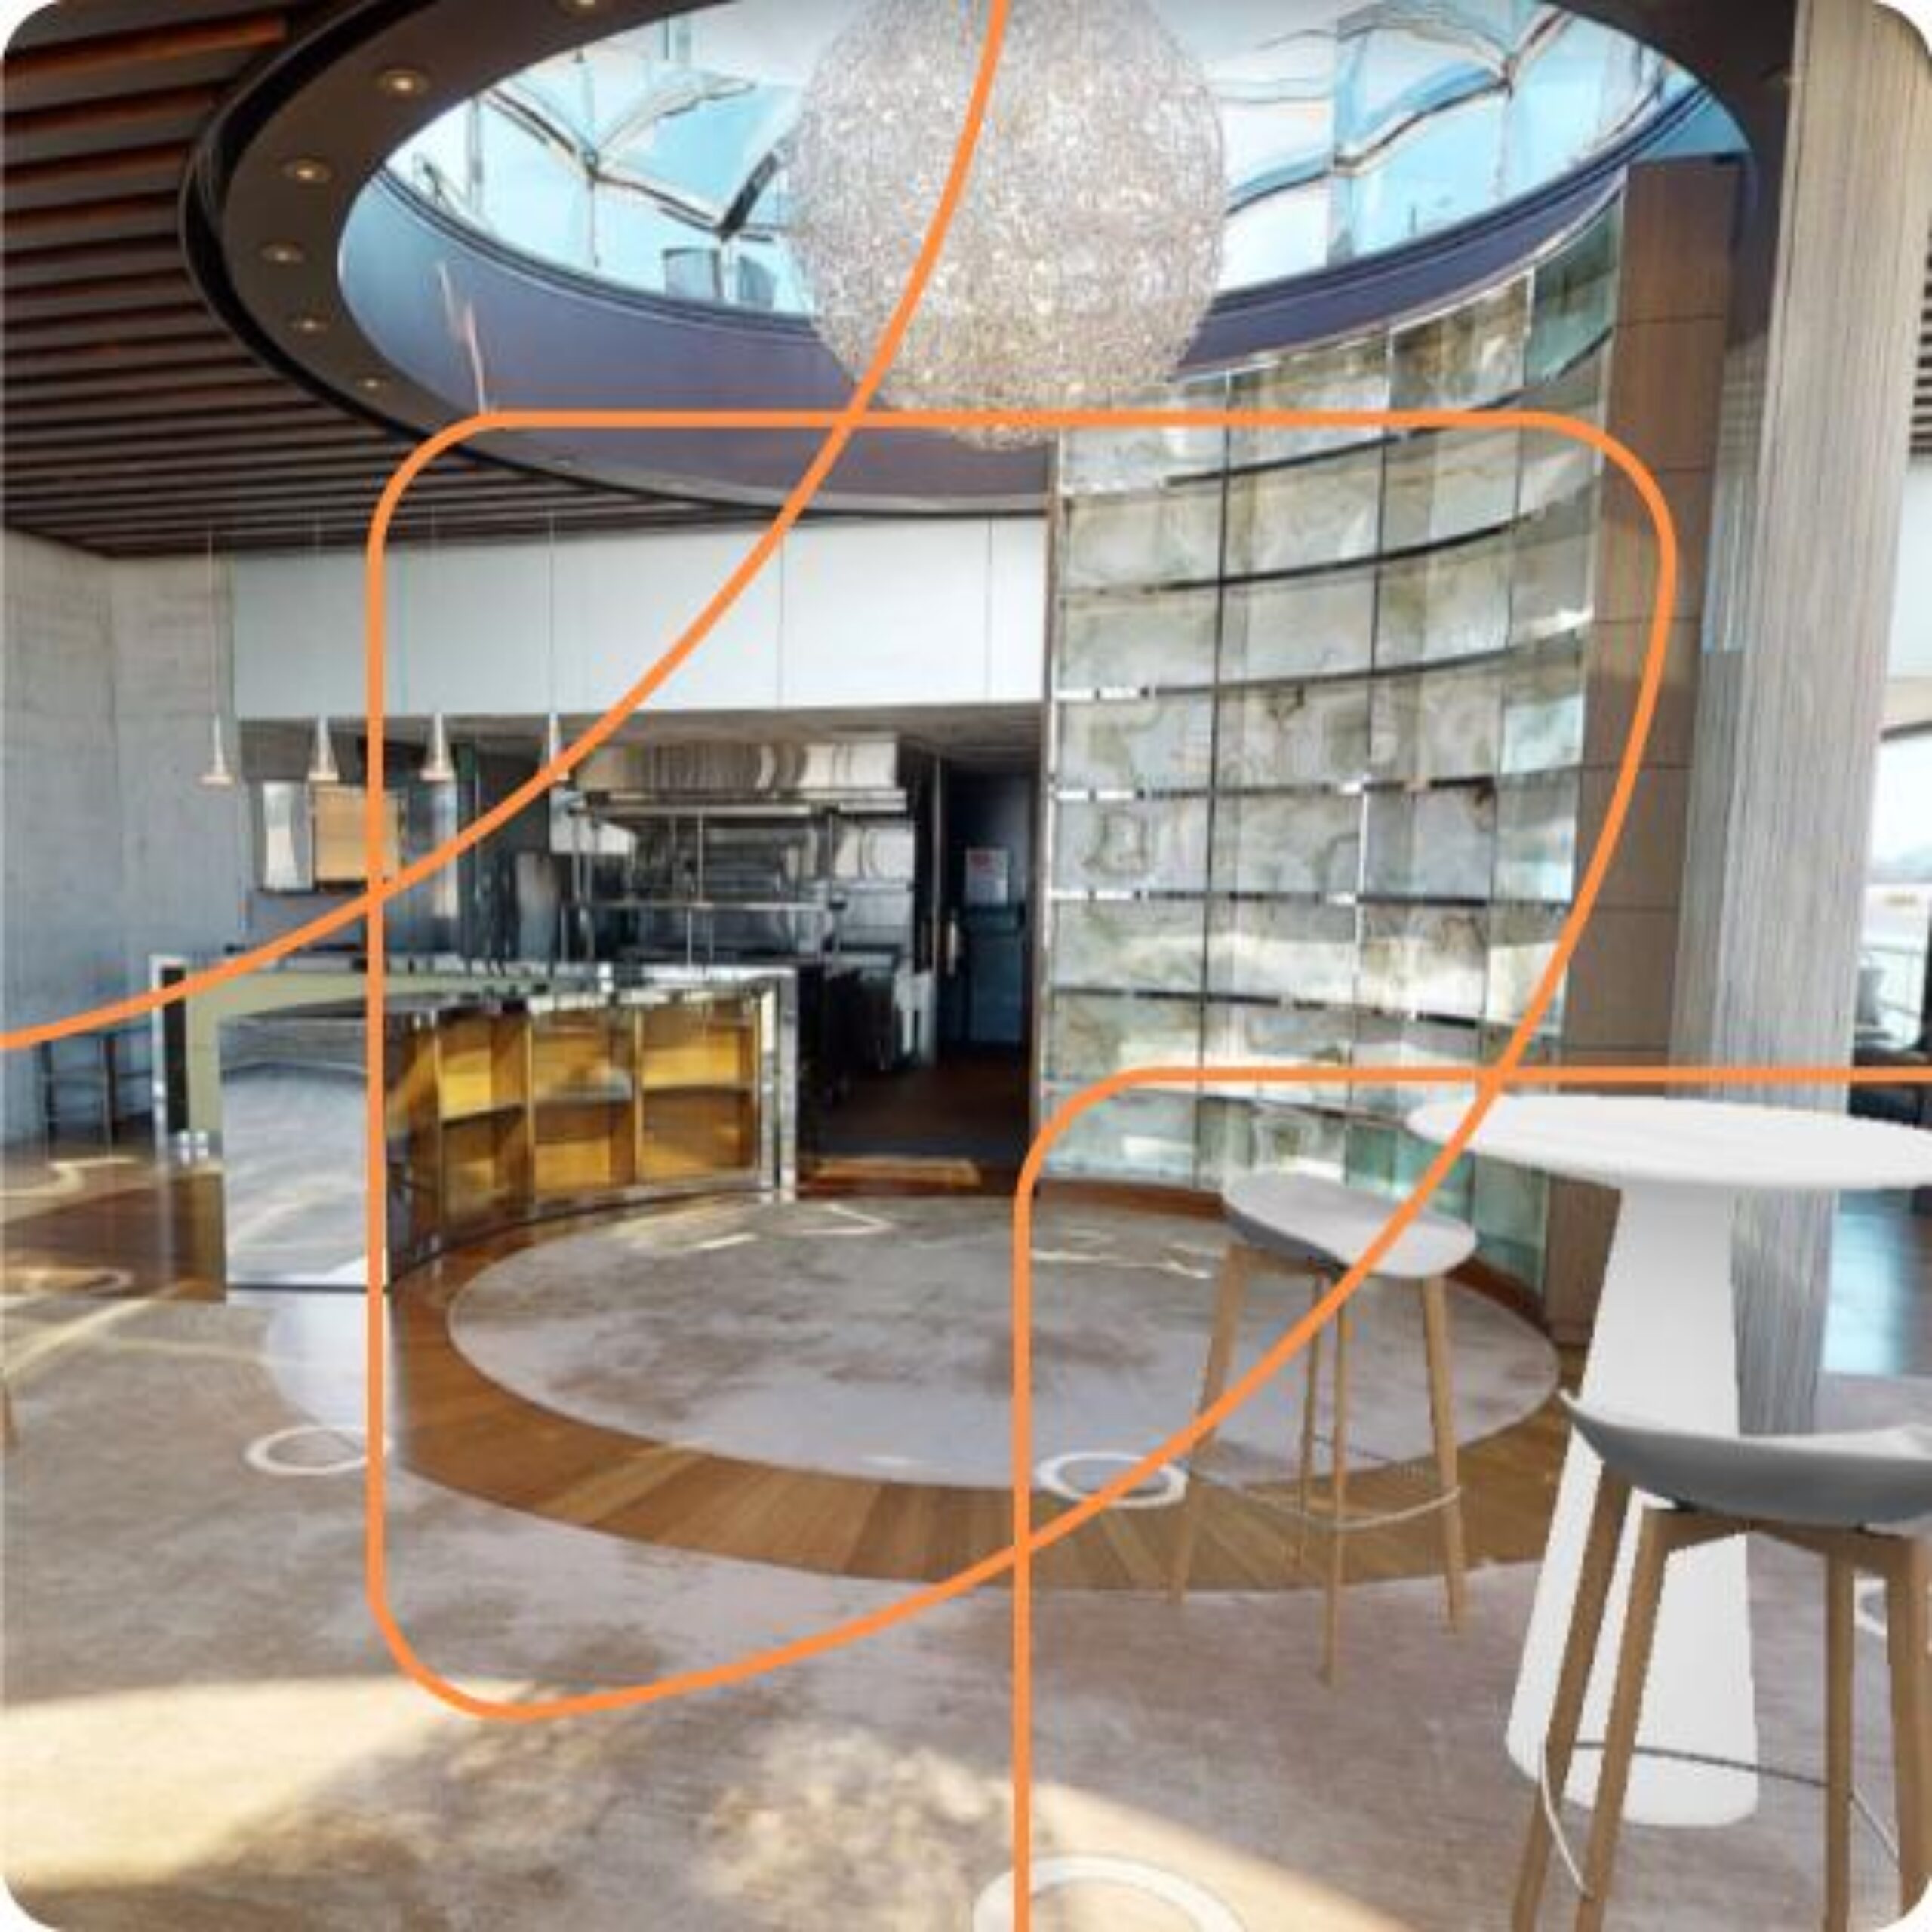
Event design software for collaborative planning
Seamlessly streamline processes and communications with all your stakeholders, share designs and updates with a click of a button, and do it all in a single source of truth workspace with laser accuracy. Yes, please.

All together, all the time
No more manual spreadsheets mixed with email chaos when planning and executing an event. With the Prismm Platform, every detail that goes into designing an event is captured in a personalized workspace for each client. We have you covered no matter where you, your customers, or your vendors are as long as they’re on Earth.
Saving the planet shouldn’t cost the Earth
By meeting and collaborating with your prospects within the digital twin of the event space, you get time back in your day and save on travel costs and clients’ money, effort, and time. Not to mention reducing everyone’s carbon footprint, making Mother Nature smile.
Make that change
Make changes to designs and collaborate in real-time, either virtually or in face-to-face meetings. Comment, rearrange floor plans, and use the virtual space created in your digital twin as your canvas. You Picasso, you.

The one source of truth to unite them all
Blue, green, teal — everyone sees things in their own unique way, which is why it’s ideal to manage them all from one centralized event planning platform that enables you to cut through confusion and get to commitment.
.

The choice is theirs
A consolidated planning workspace streamlines the planning and design processes, with the flexibility for clients to pick and choose what features they want, and create the go-to space for your team and stakeholders.

No panic, no sweat. No doubt.
With our pre-existing layouts, the Prismm platform lets you make updates and amends from last-minute wobbles to last-minute wishes, even on the day of the experience. And it’ll notify all the relevant parties too, so no one is surprised.
Want not, waste not
Managing every detail means even waste — food, beverages, any disposable items — is kept to a minimum or eliminated entirely. Good for finances and the environment.
![]() ENHANCE YOUR OPERATIONAL EFFICIENCY AND DELIGHT CLIENTS
ENHANCE YOUR OPERATIONAL EFFICIENCY AND DELIGHT CLIENTS

“
Allseated (now Prismm platform) has made planning events so much easier! I cannot imagine going back to PDF files nor can I imagine what it was like before we were able to collaborate in real time with our clients. We adore the 3D tools and seeing our floor plans come to life is a game changer for our clients.”
Warren Dietel
Owner & President, Puff N Stuff Catering & Events

FAQs
-
The Prismm platform is a transformational bridge between real and virtual worlds, evolving how people visualize, design, plan, sell, and experience spaces.
-
Put simply, it’s software that interacts with real-world locations. It’s used to visualize, manipulate, analyze, display, and record physical environments.
-
You can create multiple floor plans for different layout options of the same event.
-
No, we want to make this technology as accessible as possible. All that is needed is an internet connection. Easy!

Changing spaces at the Plaza
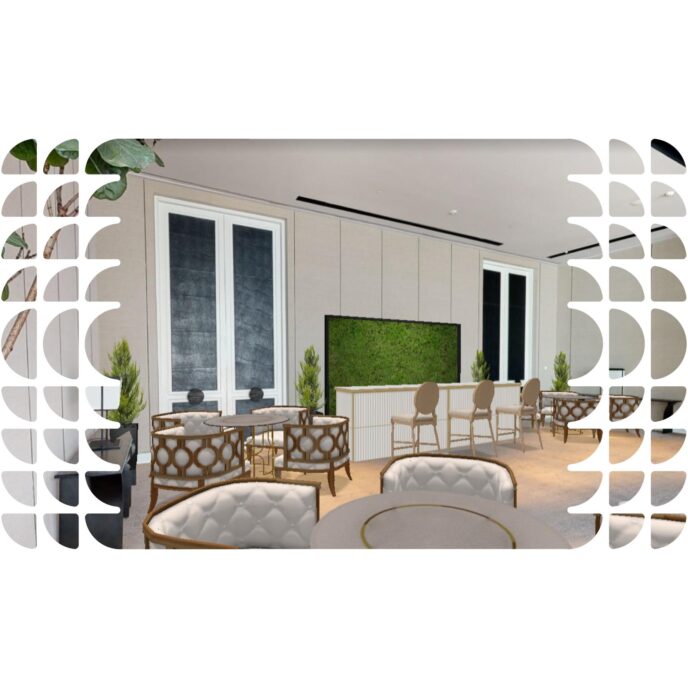
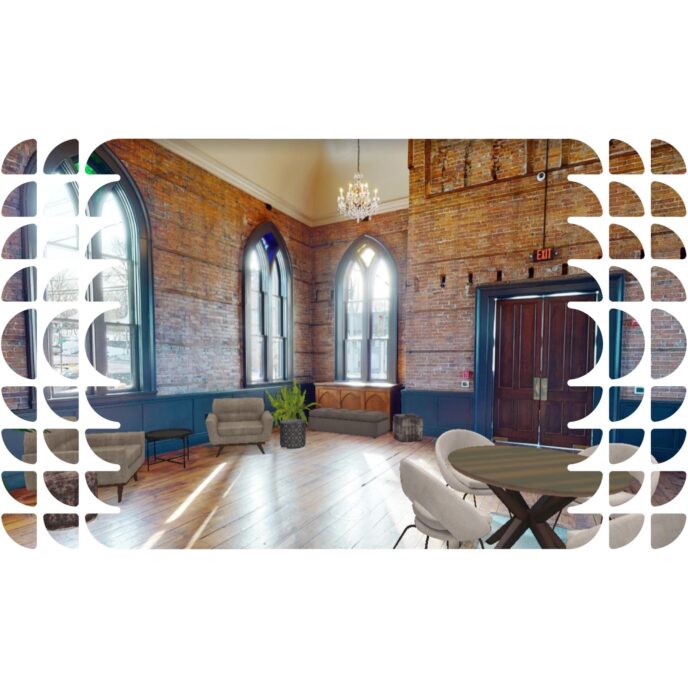
At the Plaza, the hottest spot north of Havana, music and passion were always the fashion with CPS Events overseeing all social, corporate, and non-profit events. And the event managers needed a platform to create to-scale renderings of their spaces for each new event. The perfect challenge for Prismm to answer.

Ready to get started?